Monday, 13 February 2012

Project 1 Making Marks - Stage 4 , Part 2

 I drew this snake in my skethbook in an attempt to take a faster, looser approach to drawing.

 I made several different studies, using Copic markers to draw scale shapes, drawing the pattern in pale blue wax crayon and washing over with green ink.  The rest of the examples were made on a gesso base.  They were all made by pressing a green net fruit bag into the wet Gesso and then I removed it at different stages. I took one small piece off when the gesso was still very wet and it left very little imprint at all, I still used it to create the tint yellow and green sample in the middle, painting over it and then dropping green paint onto the wet surface.  The two bottom right samples had the net left in the Gesso until they were much drier, once I'd removed the net, it was still runny enough to flow a little and settle down into smooth scaly shapes. I rubbed over the rough parts with a blue wax crayon and then painted them.  The other two samples were left to dry completely and have very straight edged troughs, I coloured them with Copic marker.  The final, large example had the green bag left in it and I think this is very successful at capturing the texture of the snake.

Along with the moss textures, this is up there in favourite land and I think there are lots of ways I could explore the gesso technique further.

Project 1 Making Marks - Stage 4 , Part 1

 I made this labour intensive sketch
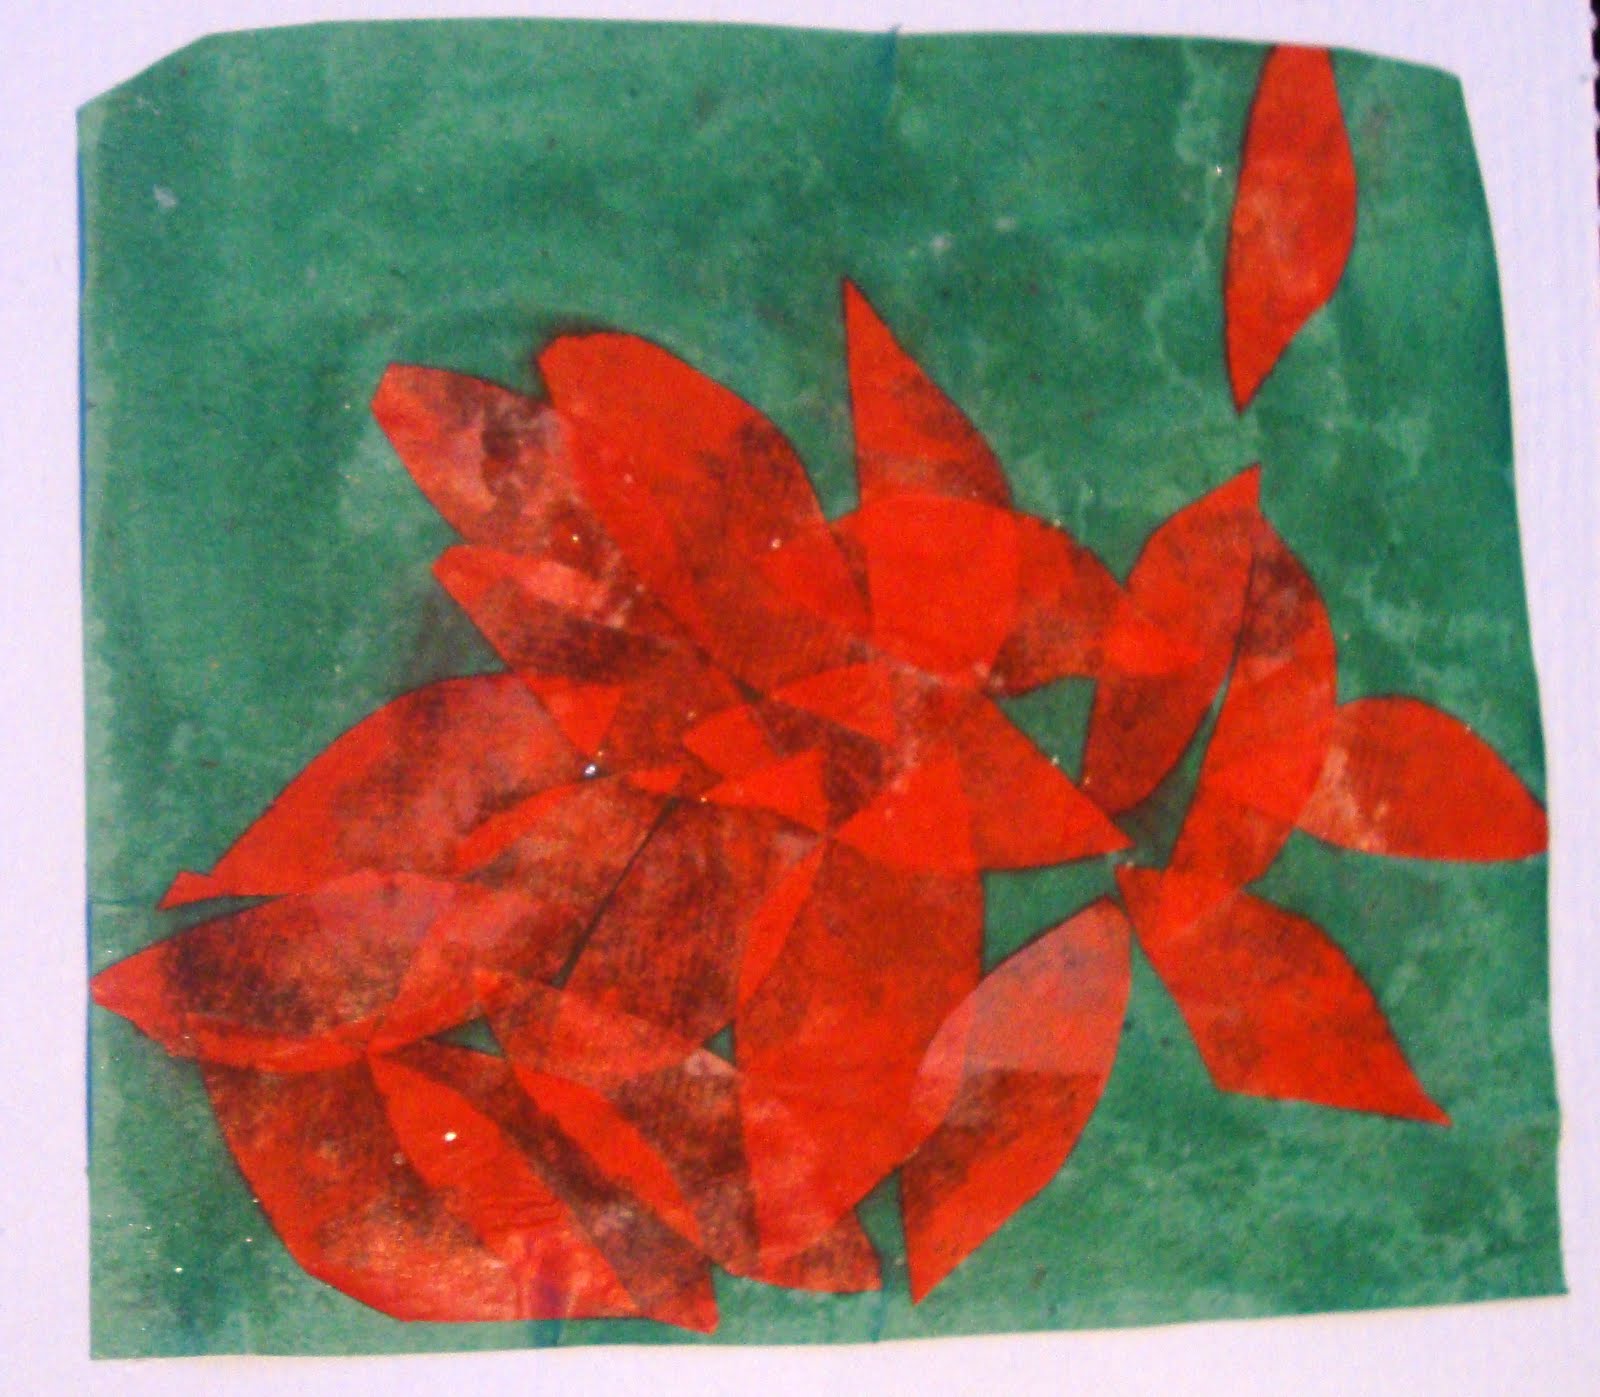
and this quick scribbly colour study in my logbook based on the photo you can just about see at the top left, taken in a car park in town last November.  I'm crazy about the reds and the greens.
Watercolour and Gouache

Wax crayons and Watercolour Ink

Tissue paper collage

Project 1 Making Marks - Stage 3 , Exercise 2, Part 2

For my second object I chose an old dried out crab shell that has been sitting on a shelf in my kitchen since last May Bank Holiday, when I had the brilliant idea that we should take the children to the beach and the four of us spent the most miserable day shivering and damp in Rhyll, most of our beach trips end this way.

I adore the fabulous texture of the barnacles and the remnants of sand and I don't think that I managed to capture that very well at all.  I think I focused too much on the actual barnacles and forgot about all the wonderful roughness.

This strangely coloured sample shows my attempt at making a more 3D effect, it involved mushing up kitchen paper and water and PVA and then trying to sculpt it into barnacle-y rings.  While I'm not convinced it's done a great job here I think it could be a useful technique at some other point.

Next I went back to old favourite, watercolour, some salt, some water. It's a bit bleh...

On the left I did some printing with a cork, I like the shape that the cork left in the thick acrylic, creating a ring like image and texture when dry, and on the right is some white wax crayon and a watercolour wash.

I feel that perhaps they're just lacking a certain something and I'm starting to think that I really need to have a lot of colour to fire me up.

Project 1 Making Marks - Stage 3 , Exercise 2, Part 1


Hmmm, the colours are absolutely shocking in these photo's,  there is definitely a lot more green in the real version.  This is a texture study of a mossy slab outside our house.  This one in fact -

  I tried lots of different methods to recreate the wonderful slimy textures off of this stone.  In the first I created a surface from kitchen paper, bonded to watercolour paper with gesso and pushed into an interesting shape, i also dotted some acrylic texture gel here and there to get some of the roughness in, then I dabbed it with various water based media to try and capture all the different greens.

The next was a very quick and simple sample to create but I think it's quite effective, it's just green and yellow watercolour inks sprinkled with salt and some bleach, my favourite:)

The last one was created with all the different shades of green that I could find in my Copic Marker box and just stippling them ( I had been looking at Seurat paintings that day!)

I also made a sample from layers of oil pastels but I don't seem to have a close up of that one! 

I think out of all of the texture studies for Stage 3 this set is my favourite, along with the snake which is still to come, I think I managed to create quite radicaly different interpretations of the same idea and i'm pretty pleased with all of them which is a tad unusual for me!

Project 1 Making Marks - Stage 3, Exercise 1, Part 2

 I though that this was a Banyan tree, but I think I might be wrong about that and me being me I've cut off the bit of blurb that told me exactly what it was.  Kiddlies are quite insistent that it's a baby belly.

I just loved the texture of the wrinkly bark.
 This one was layers of wax crayon and oil pastel, covered with dark ink and then scraped into.  I think it captures the trunks textures quite well, although the colours are all wrong.
 This was thick heavy layers of goauche, combed through with a home made cardboard comb very quickly.
Stripes made with different shades of Copic Markers.

I also made studies with metallic coloured pencils and with using an eraser in graphite to pick out the streaks, but I don't seem to have photographed them.

I enjoyed the first picture I chose for this exercise much more than this one and I suspect that is down to the lack of bright colours in this one.  I think that colour is quite important to my enjoyment of lots of different things and although I loved the texture of this tree I just couldn't get fired up about creating samples based on it.  I must remember this in future!

Project 1 Making Marks - Stage 3 , Exercise 1, Part 1


 For this stage I had to choose paintings or images to try and recreate the texture from.  The first picture that I chose was a beautiful painting that I came across in an old issue of The Artist magazine that I found stuffed under the pram.  The painter is called Bohuslav Barlow but I've not been able to find out anything else about the painting that I chose, anything I've come across online connected to him seems to be completely different in style to these paintings. You really can't see it well from this terrible photo but it was the  area in the top left corner of it that I was working from.
 I was trying to step outside my comfort zone a bit here and create something very tight and structured and controlled very quickly with Copic Markers.  Not entirely sure that I like it at all.
 This one was created with rough scribbles of wax crayons and a quick wash of ultramarine ink.
 I used watercolour pencils and aqua crayons for this one, put on completely dry and then water added very carefully to try and blend them a bit without losing the shapes completely.
For this one I went right back into that comfort zone and started dripping very wet paint onto very wet paper.  To try something different I decided to use a white gouache with it and was amazed when it seemed to be repelling the very wet watercolour, almost like salt would.  I've tried it again, with red gouache this time and it didn't work at all, so perhaps it's only white that behaves like this or perhaps it was just a fluke or perhaps the children had been sprinkling salt into my paint!

Finally is a collaged attempt, it's not really what I set out to create at all, my plan was to have very regular 'bricks' in layers but the combination of PVA, a slightly wet ink background and really cheap tissue paper seemed to make them all melt into each other.  You can't see it this photo but the vast amount of PVA that I chucked on has given it a really lovely shiny surface and I think I quite like it.

Sketchbook 1


Some extracts from my sketchbook over the last few months, trying to get myself bak into the habit of uploading stuff here, I have done the work, I just find it very hard to deal with the administration that goes along with it!